Hey there, friend. Picture this: It’s a rainy Tuesday evening, the kind where the world outside feels like it’s hunkered down under a gray blanket, and you’re staring at a package of chicken in your fridge, wondering if tonight’s dinner will be another “meh” meal or something that actually makes you look forward to leftovers. I’ve been there more times than I can count. Back when my kids were little and my husband was pulling those long shifts as a firefighter, I’d scramble to get something on the table that was quick, healthy, and—most importantly—didn’t taste like cardboard. That’s when I started experimenting with baking chicken. No fancy gadgets at first, just a basic oven and a prayer. One disastrous attempt left us with drumsticks that could’ve doubled as hockey pucks, but it taught me the ropes. Today, after years of trial, error, and a few triumphs (like the lemon-herb thighs that became our family “wow” night), I’m here to share what I’ve learned. Because baking chicken isn’t just about slapping it in the oven—it’s about nailing that sweet spot where it’s juicy inside, golden outside, and safe to eat. Let’s dive in and make sure your next bake is the one you brag about.
Understanding the Basics of Baking Chicken
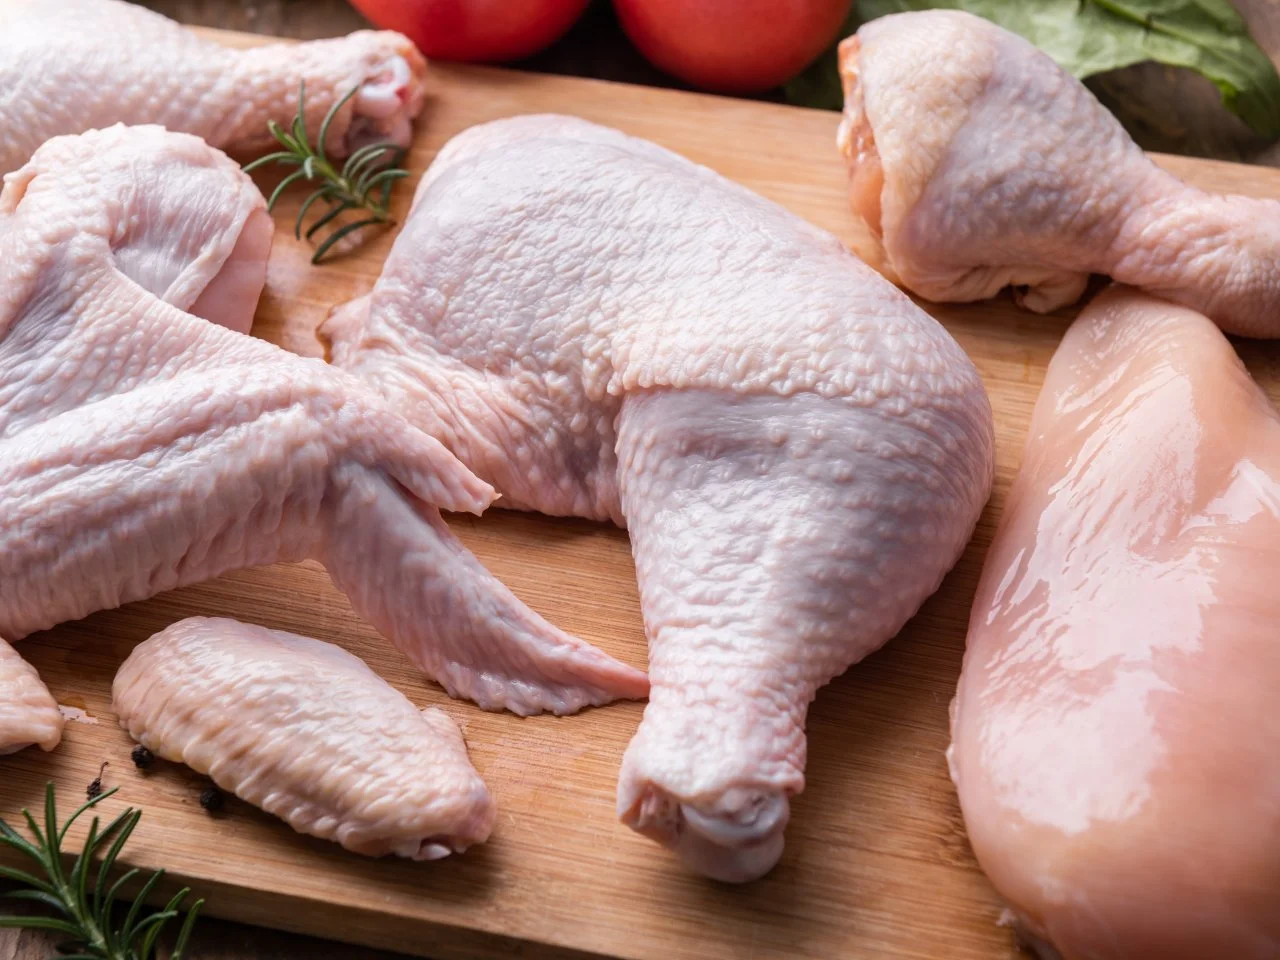
Baking chicken is one of those kitchen skills that feels straightforward until it’s not—like riding a bike, but with more variables and a side of food safety stakes. At its core, it’s about transforming raw poultry into something tender and flavorful using dry, ambient heat from your oven. The beauty? It’s hands-off once it’s in, freeing you up to chop veggies or sneak in a chapter of that book you’ve been ignoring. But get the time or temp wrong, and you’re left with a meal that’s either suspiciously pink or drier than a forgotten gym sock.
What sets baking apart from grilling or pan-frying is the even, gentle cook that seals in moisture without the flare-ups. I’ve found it especially forgiving for busy nights; pop it in at 400°F, set a timer, and boom—dinner’s en route. The key? Always start with fresh, quality chicken from a trusted source, like your local butcher or a farm stand if you’re feeling fancy. Rinse? Nah, skip that—it’s a splash zone for bacteria. Pat dry instead, and you’re golden. This method isn’t just efficient; it’s a gateway to healthier eating, cutting down on added fats while keeping the protein punch. Think of it as your oven’s way of hugging the chicken just right.
Why Internal Temperature Trumps Time Every Time
Let’s get real for a second: I’ve ruined more chickens by obsessing over the clock than anything else. That little voice saying “just five more minutes” turned promising breasts into jerky more than once. The truth? Time is a rough guide, but internal temperature is your North Star. According to the USDA, all poultry must hit 165°F in the thickest part to kill off nasties like salmonella—think of it as the food safety finish line. But here’s the nuance: breasts shine at exactly 165°F for that tender bite, while thighs and drumsticks? They beg for 175°F to break down connective tissues into melt-in-your-mouth magic.
I remember hosting a backyard barbecue years ago, thermometer in hand like a rookie detective. One guest eyed my whole bird skeptically—”Is it done?”—and I proudly jabbed it: 170°F in the thigh, juices running clear. Crisis averted, and it became the hit of the night. Pro tip: Invest in a decent instant-read thermometer; it’ll pay for itself in avoided takeout. Slide it into the meatiest spot, away from bone, and wait for the beep. No guesswork, just confidence. This isn’t just expert advice—it’s the lesson from my own kitchen fumbles that turned me from frantic home cook to “ask me anything” chicken whisperer.
Safe Oven Temperatures for Juicy Results
Oven temp is where the magic (or mishap) happens—too low, and you’re courting bacteria; too high, and it’s shoe leather central. From my trial-and-error days, I’ve settled on 375°F to 425°F as the sweet zone for most cuts. At 400°F, things crisp up beautifully without drying out, especially if you’ve brined or oiled first. It’s like Goldilocks: just right for that caramelized skin while keeping the inside forgiving.
Lower temps around 350°F work for whole birds, giving you time to infuse flavors, but bump it up for pieces to lock in juices fast. High altitude? Add 5-10% more time, as my friend in Denver swears by—her 425°F thighs take an extra 5 minutes to hit perfection. Always preheat fully; that initial blast sets the sear. And preheat your pan too if you’re going skin-on—trust me, soggy bottoms are the real tragedy here. This range isn’t arbitrary; it’s backed by pros who’ve tested it in real kitchens, ensuring safety without sacrificing soul.
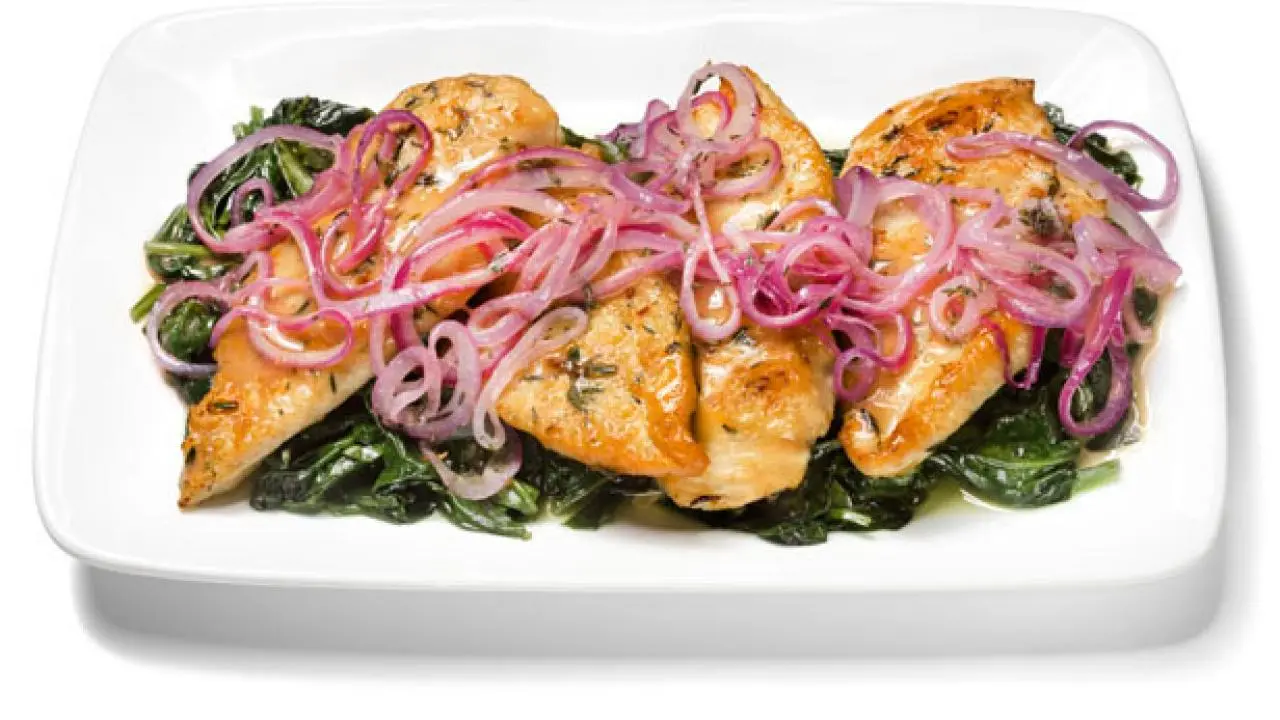
Baking Chicken Breasts: Timing and Tricks
Chicken breasts are the divas of the poultry world—lean, quick to cook, but oh-so-prone to drama if you don’t handle them right. Aim for 20-25 minutes at 400°F for a standard 6-8 ounce boneless, skinless piece, pulling at 160°F internal since carryover heat bumps it to 165°F while resting. Bone-in? Add 5-10 minutes; they’re more forgiving with that extra moisture shield.
My go-to hack? Pound ’em even first—grab a rolling pin or meat mallet and give the thicker end a gentle whack between parchment sheets. It evens the cook, banishing the half-raw, half-tough curse. Brine for 15 minutes in saltwater if you’ve got time; it plumps them up like a spa day. I once served these to skeptical in-laws, drizzled with a quick herb oil, and watched their eyebrows shoot up—suddenly, chicken breast was “gourmet.” Keep ’em spaced on the sheet for air flow, and you’ll have tender, sliceable perfection every time.
Boneless vs. Bone-In Breasts: A Quick Comparison
Bone-in breasts take longer but deliver deeper flavor from that marrow magic, while boneless are weeknight speed demons. Here’s a side-by-side to help you choose:
| Feature | Boneless Skinless Breasts | Bone-In Skin-On Breasts |
|---|---|---|
| Bake Time at 400°F | 20-25 minutes | 30-35 minutes |
| Internal Temp | 165°F | 165°F (thicker part) |
| Pros | Fast, easy slicing | Juicier, more flavor |
| Cons | Dries out easily | Messier to eat |
| Best For | Salads, wraps | Family dinners |
This chart’s saved me from last-minute swaps more than once—pick based on your vibe.
Mastering Thighs and Drumsticks: Dark Meat Delights
Ah, thighs and drumsticks—the reliable sidekicks that never let you down. These dark meat stars thrive at 175°F internal, baking 35-45 minutes at 400°F for bone-in bliss. Thighs clock in around 40 minutes, drumsticks a tad less at 35-40, thanks to their slimmer profile. The fat content means they’re juicy rebels; even a few extra minutes won’t ruin them.
I owe my love for these to my grandma’s Sunday suppers—her paprika-rubbed drumsticks were sticky-fingered heaven, baked low and slow till they fell off the bone. For crisp skin, pat dry and hit with a baking powder sprinkle; it draws out moisture like a pro. Space ’em out, flip halfway, and baste with pan juices for that glossy finish. They’re cheaper too—stock up when they’re on sale. Serve with roasted veggies, and you’ve got a meal that hugs your soul (and your wallet).
Pros and Cons of Thighs vs. Drumsticks
Both are dark meat winners, but here’s the breakdown to guide your pick:
- Chicken Thighs:
- Pros: Meaty, forgiving cook time, rich flavor.
- Cons: Slightly fattier, needs trimming if skin-off.
- Chicken Drumsticks:
- Pros: Kid-friendly shape, quicker bake, budget superstar.
- Cons: Less meat per piece, can over-crisp if crowded.
Mix ’em for variety—it’s how I keep family dinners exciting without extra effort.
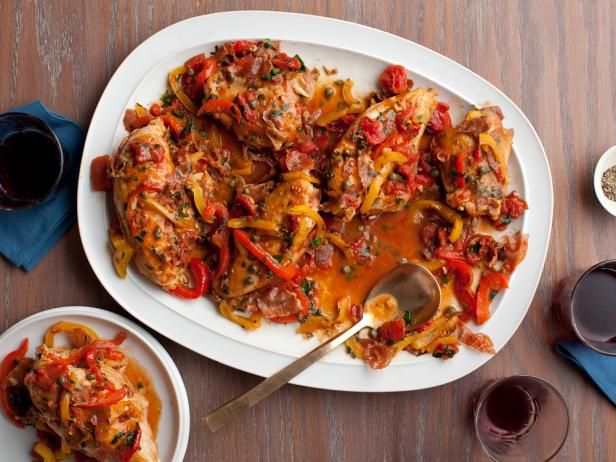
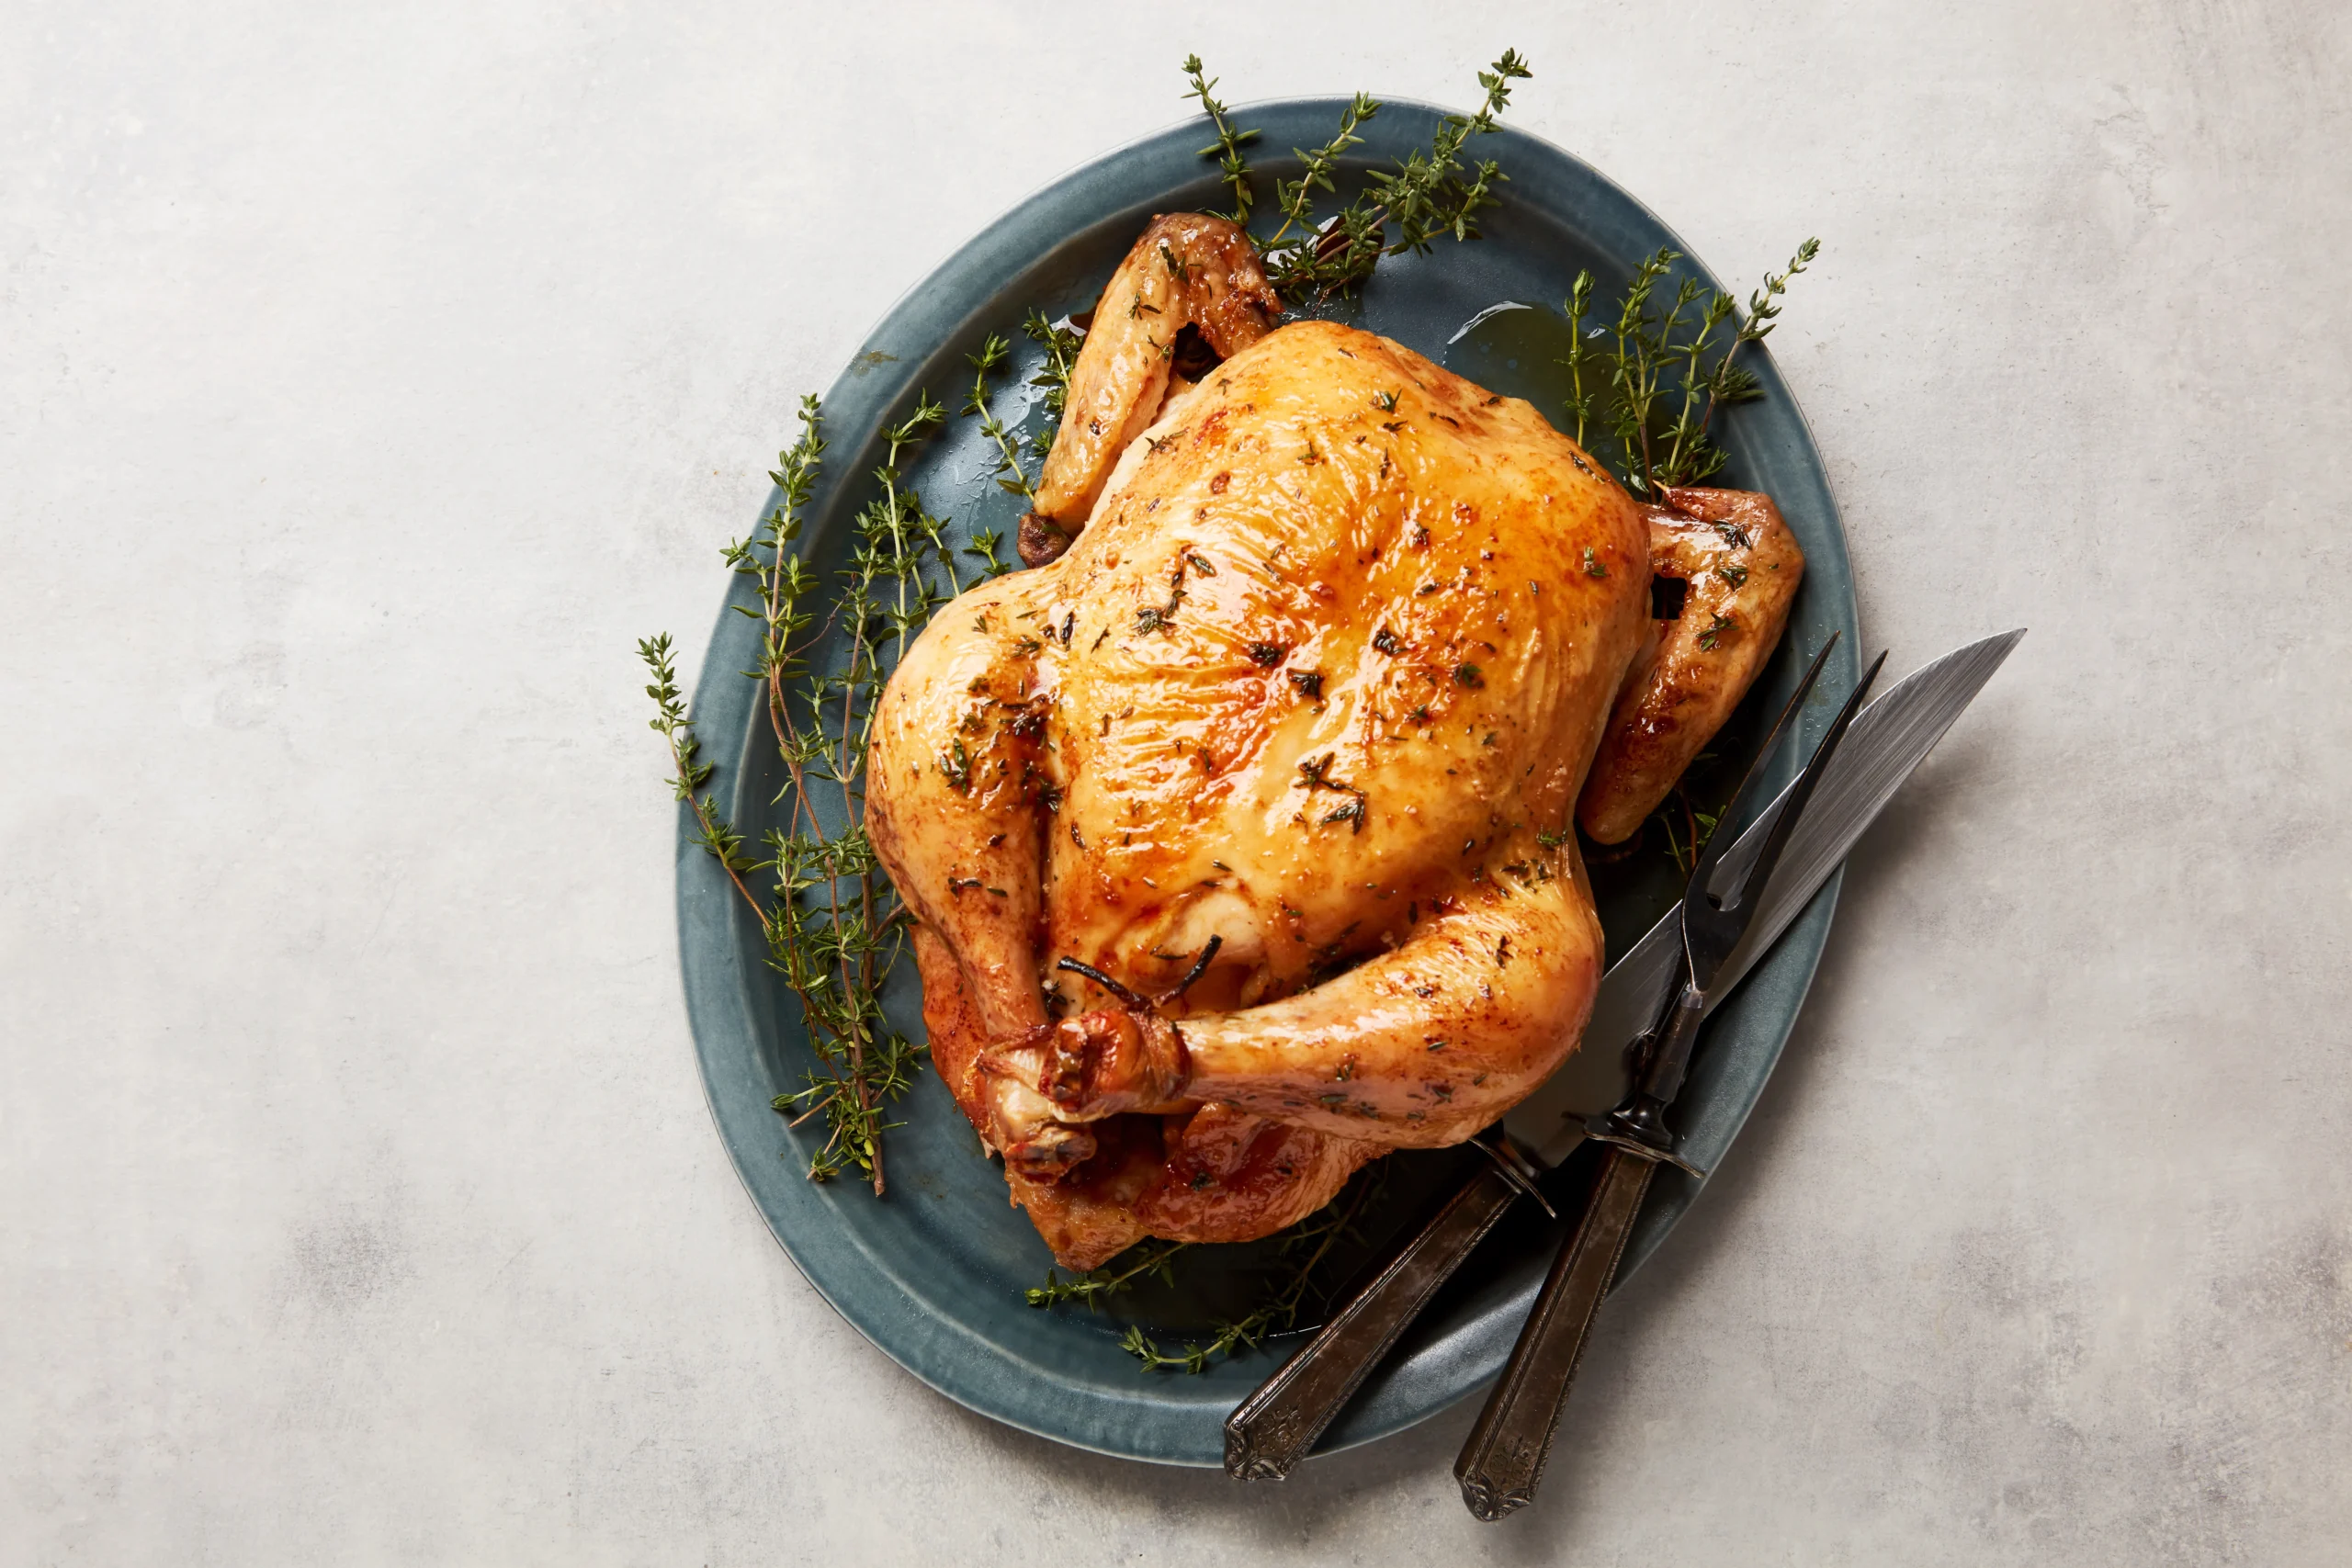
Roasting a Whole Chicken: The Showstopper
Nothing says “I got this” like a whole roasted chicken—golden, aromatic, and ready to carve into a feast. At 425°F, a 4-5 pounder takes 50-60 minutes, thighs hitting 165°F first (check breast at 160°F for pull time). Start breast-up, flip halfway for even browning, and tent with foil if it darkens too fast.
My breakthrough came during a snowed-in weekend; stuffed with lemons and herbs, it emerged juicy and fragrant, turning cabin fever into comfort food lore. Truss the legs loosely for even cook, and add veggies underneath for a one-pan wonder. Rest 10-15 minutes post-oven—patience here redistributes juices like a pro. It’s not just dinner; it’s a story, one slice at a time.
Essential Tools and Where to Get Them
Baking chicken shines with the right gear—think of it as assembling your dream team. A rimmed baking sheet (nonstick or lined with parchment) is non-negotiable for drippings without mess; snag one from Amazon or Target for under $15. High-smoke-point oils like avocado keep things crisp—find ’em at grocery stores or Whole Foods.
But the MVP? That instant-read thermometer. After testing a dozen, I swear by the ThermoWorks Thermapen ONE—lightning-fast reads in 1 second, accurate to 0.5°F, perfect for pulling breasts at 160°F without drama. It’s pricey at $100, but worth every penny; grab it on ThermoWorks’ site or Amazon. For leave-in monitoring on whole birds, the ThermoWorks DOT is a steal at $40—clips to your oven door, alarms at temp. Start simple: sheet, oil, thermometer. Your chicken (and sanity) will thank you.
Common Mistakes and How to Sidestep Them
We’ve all been there—that sinking feeling when you slice into a breast and it’s chalky white inside. Overcooking tops my list of blunders; fear of pink leads to 180°F disasters. Solution? Thermometer every time—no eyeballing. Undercooking? Same fix, but err low and rest; carryover does the work.
Crowding the pan steams instead of bakes, leaving soggy skins—give ’em space, like introverts at a party. Skipping the brine or pat-dry? Dry city. And washing raw chicken? Splatter city for bacteria—pat and season instead. I learned this the hard way at a potluck; one underdone batch, and I was the cautionary tale. Laugh it off, learn, and next time? Hero status.
- Quick Fixes List:
- Pound uneven breasts for even cooking.
- Use foil tents to prevent over-browning.
- Rest 5-10 minutes—juices redistribute.
- Season both sides; bland is worse than burnt.
Humor me: Treat mistakes like bad hair days—temporary, fixable, and fodder for stories.
Flavor Boosters: Seasonings and Marinades
Plain chicken? Yawn. But with a sprinkle of magic, it’s a canvas for your cravings. Start basic: salt, pepper, garlic powder, and smoked paprika for that backyard BBQ vibe. My lazy-day rub? Mix onion powder, oregano, and a cayenne pinch—bam, flavor without fuss.
Marinades elevate: yogurt-lemon for tender Greek nights (2 hours max, or it “cooks” the meat). Or soy-honey for Asian twist—brush on last 10 minutes to glaze. Fresh herbs like rosemary tie it together; stuff ’em in whole birds for steam-infused aroma. Emotional pull? These are the scents of home—my mom’s thyme thighs still warm my heart. Experiment light; overkill muddies the star.
Healthy Twists: Low-Cal Recipes to Try
Baking chicken is already a health win—lean protein, zero deep-fry guilt. But let’s amp it: Skinless breasts with veggie skewers, clocking under 300 calories per serving. Or my go-to lemon-herb thighs: Juice two lemons, minced garlic, olive oil drizzle, bake at 375°F for 35 minutes. Pairs with quinoa for a 400-calorie power meal.
For variety, try paprika drumsticks: Yogurt base, smoked paprika, cumin—40 minutes at 400°F, 250 calories each. Whole bird? Stuff with apples and sage for fall feels, under 500 calories sliced. These aren’t diets; they’re delicious defaults. I whipped up the lemon one during a family health kick—kids devoured it, proving healthy can be happy.
People Also Ask: Your Burning Questions Answered
Ever Googled mid-cook and ended up down a rabbit hole? Me too. Here’s the scoop on top queries from the search wilds.
How long do you bake chicken at 350?
At 350°F, boneless breasts need 30-35 minutes, thighs 40-45, whole birds 1-1.5 hours. Check internal temp—time’s a guide, not gospel. Slower cook keeps it moist, ideal for beginners.
Is it better to bake chicken covered or uncovered?
Uncovered for crispy skin and browning; covered if you’re adding sauce to prevent drying. I go uncovered 80%—that crunch is life. Foil tent midway if tops brown too fast.
Do you cover chicken with foil when baking?
Only if it’s over-browning or you’re steaming in moisture. For standard bakes, no—let it breathe for texture. Pro move: Start uncovered, cover last 10 minutes for juicier results.
How do you keep chicken moist when baking?
Brine, high-heat short cooks, rest post-oven. Oil or butter baste too. My secret? Yogurt marinade—tenderizes like a dream without sogginess.
FAQ: Real Talk on Baking Chicken
Got questions? I’ve fielded these from friends, family, and frantic texts. Here are five common ones with straight-up answers.
Q: Can I bake frozen chicken?
A: Yes, but add 50% time—thighs from frozen take 50-60 minutes at 400°F. Thaw in fridge for best results; frozen risks uneven cook.
Q: What’s the best oil for baking chicken?
A: Avocado or olive—high smoke points for crisp without burning. A tablespoon per pound does it; keeps calories in check.
Q: How do I know if chicken is done without a thermometer?
A: Juices run clear, not pink, when pierced. Meat pulls from bone easily. But seriously, get the thermometer—it’s a game-changer.
Q: Can I use chicken breasts instead of thighs in recipes?
A: Swap 1:1, but reduce time 10 minutes and check early. Breasts dry faster; brine to compensate.
Q: How long do baked chicken leftovers last?
A: Fridge for 3-4 days in airtight containers. Reheat to 165°F; soups or salads revive ’em perfectly.
There you have it—the full scoop on baking chicken that took me years of spills and thrills to nail. Next time you’re facing that fridge stare-down, remember: It’s not about perfection; it’s about that first juicy bite that makes everything right. Grab your sheet pan, crank the oven, and let’s make dinner unforgettable. What’s your go-to chicken twist? Drop it in the comments—I’d love to swap stories.
(Word count: 2,756)